Digital 3D models are difficult to understand if you’re not familiar with how 3D or solid modeling software (such as Solidworks or Inventor) manages its standard views and navigation options. Even if you are able to rotate the model live for the people you’re presenting to, it can quickly become confusing for viewers. Standard drawing views are even more confusing sometimes.
One of the best ways to communicate a 3D model to almost anyone is through a rendering, or a 3D model render. Vocabulary.com describes render as a “synonym of make” or “cause to become.” What we will be creating or rendering is a 2D image of different viewpoints of a 3D model.
One thing originally lacking from many solid modeling programs was an effective way to show what something will look like when it is completely done- painted, printed, assembled, etc. These programs are focused on converting dimensions, shapes, and parameters into 3D geometry, not changing appearance differences such as material and color or applying lighting and shadows to the space around the model.
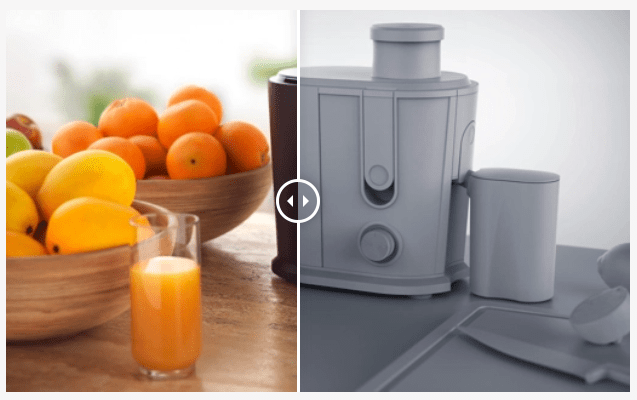
Nowadays Solidworks has integrated a third party plug in called PhotoView360 into their software and Inventor has Inventor Studio, both of which are capable rendering options to quickly demonstrate a product. However, my preferred Rendering option is Keyshot. Keyshot brings much more photo-realism possibility through its extensive material and lighting presets and adjustments. The image below shows what Keyshot is capable of rendering (left) with what is normally displayed in Solidworks’ or Inventor’s screens (right).
Keyshot has already been extremely valuable to me as a Design Engineer when I needed to communicate a product’s final attributes. It has proved thoroughly valuable in communication to be able to show a few realistic photos of a product [that hasn’t even been made!] floating in space. Keyshot also can produce animations showing how a product opens or closes, or screws in or out.
There are many other rendering programs that can produce images to the level of ‘realness’ that Keyshot can, one of them being blender. This program is free and has been used to produce full length animation films. Blender is fun to use once you get used to it, but it seems like it’s built more for animation and film making rather than quick product renders. I haven’t had much experience using other ones such as Maya.
Also, many of these programs are very complicated and have steep learning curves. Another difference with Keyshot is that it allows you to drag and drop materials from a preset library to different parts, select a particular lighting style and viewpoint, select final size and image quality parameters then go. Renderings take a short amount of time to set up, and if you have a computer with a fast CPU, only take a short amount of time to complete. The biggest downside is the price tag, with prices starting around $1,000.
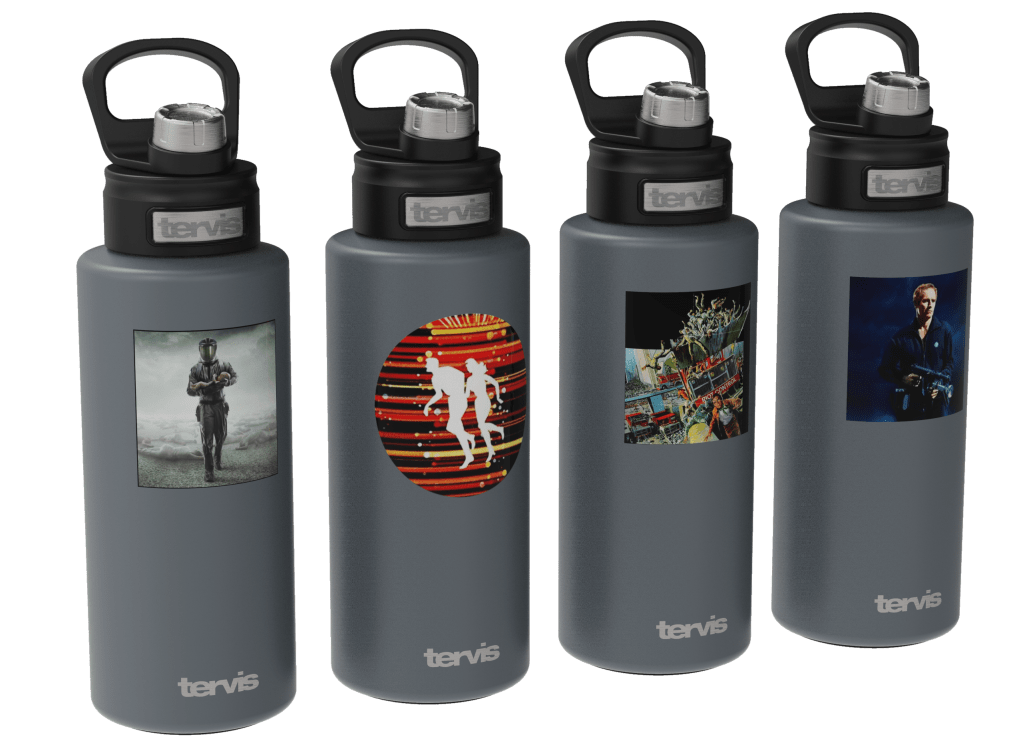
If you have any questions about my experience rendering don’t hesitate to shoot me a leave a comment below or message me over in the contact page. I have some images below of renderings I have completed through my professional career thus far. Thanks for reading!
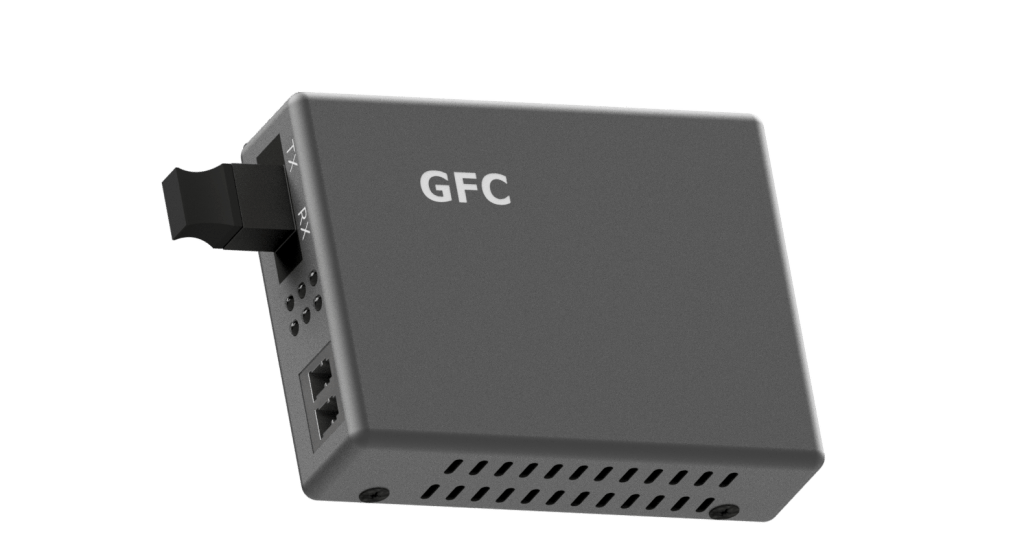
Media Converter- Inventor

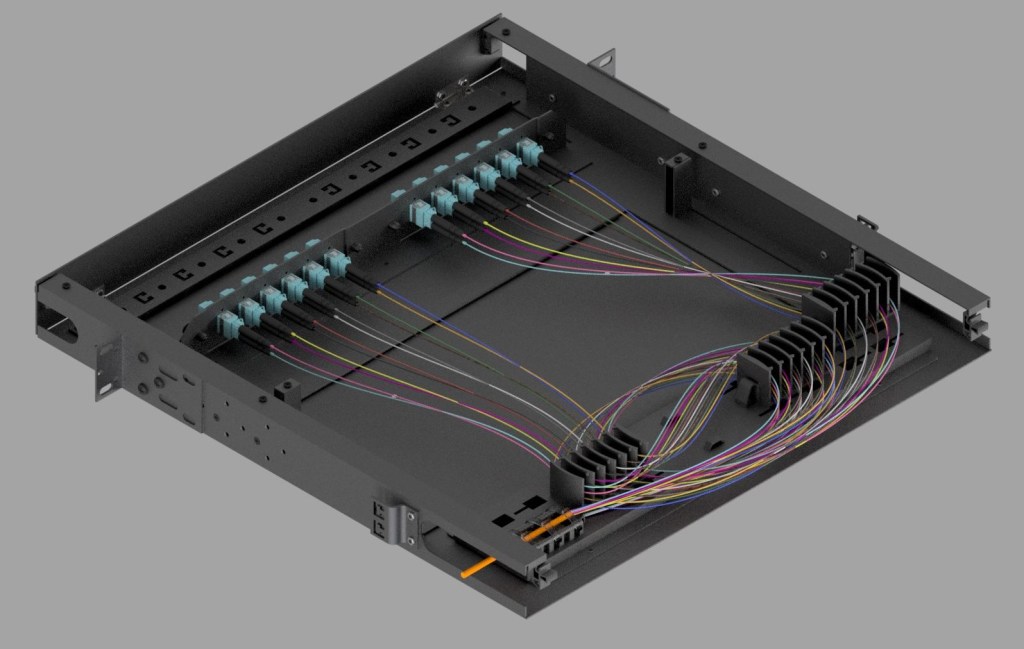
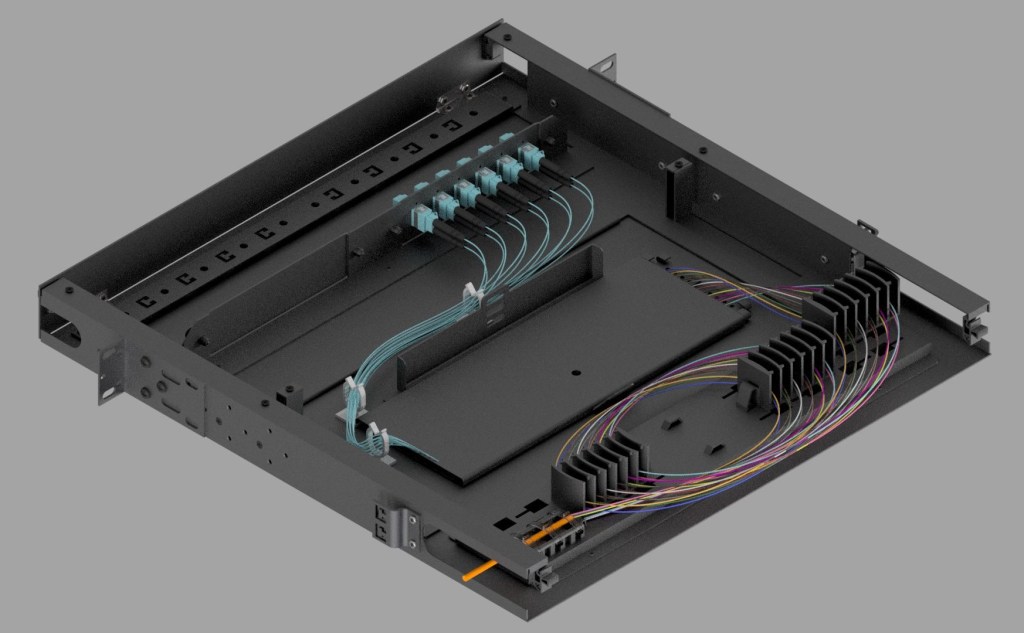
Fiber Optic Cassette- Keyshot
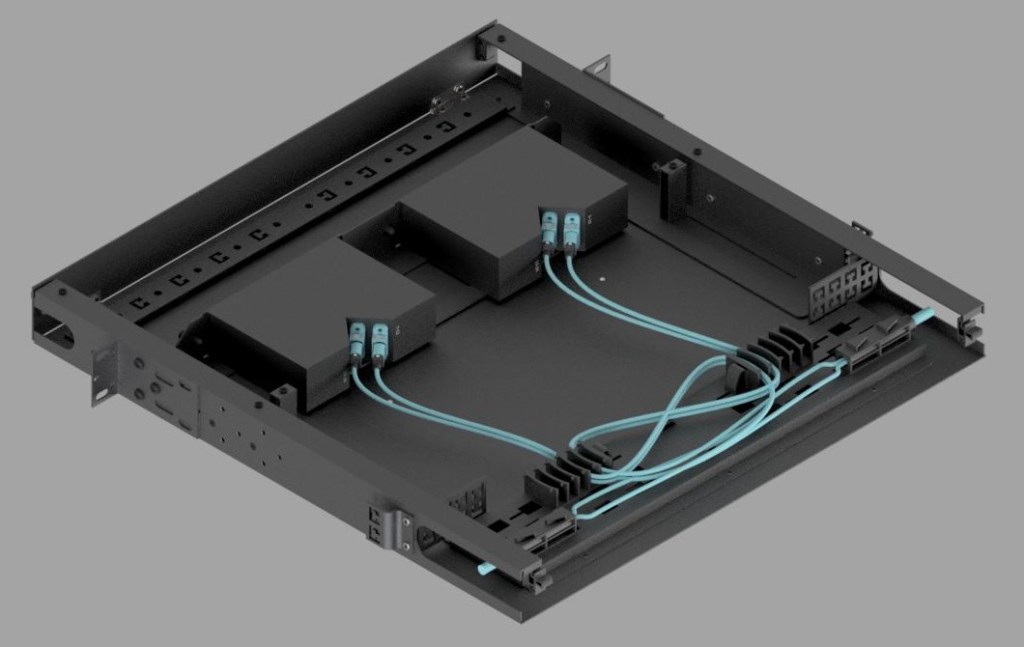
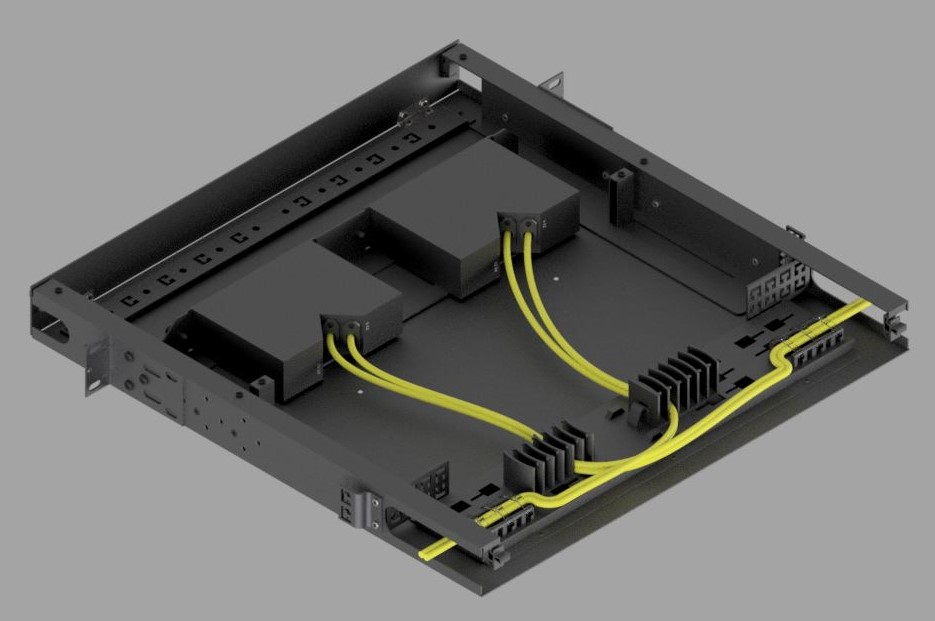

Rack Mount – Keyshot

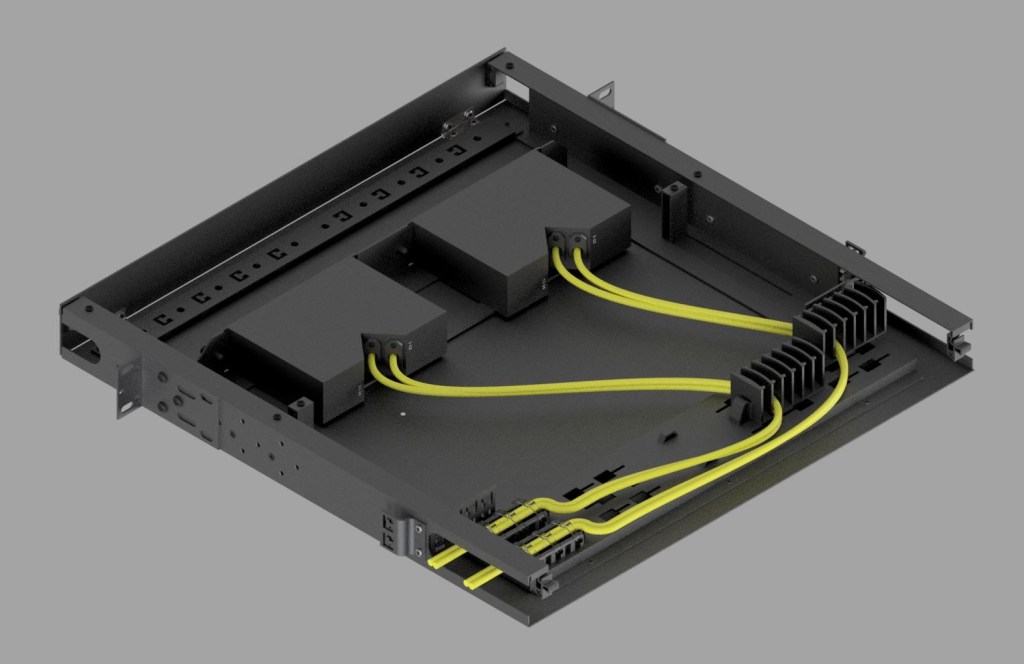
Custom Rack Mount with Colored Connectors – Keyshot
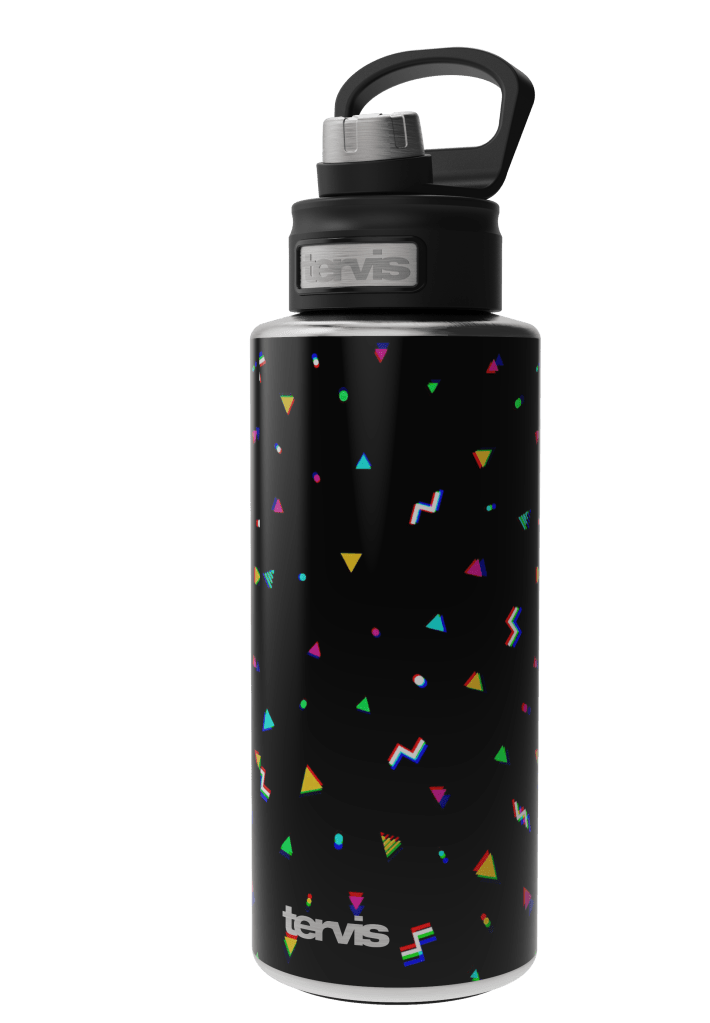
Stainless printed bottle – Keyshot
Powder Coated bottles – Keyshot

NFL Bottles – Keyshot
